What is a Configuration?
A configuration is a set of parameters used to create a configurable product. In order to create our configurable sunglasses product, we need to create a configuration first which will contain the different components and their options, and then assign that configuration to an existing product to turn it into a configurable product.
We will use a Use Case to portray how to create a
configurable product.
Use case: Let’s assume we want to build a sunglasses configurator so our customer will be able to choose his lenses, left and right glasses arms and frame among many other attributes.
Our sunglasses configuration can be summarized like this:
| Components | Options |
| Left Arm | • Neon Green • Purple • Red • Clear • Graphite |
| Right Arm | • Neon Green • Purple • Red • Clear • Graphite |
| Front | • Neon Green • Purple • Red • Clear • Graphite |
| Lenses | • Moonshine • Green moonshine • Clear • Gold • Smoke |
Steps
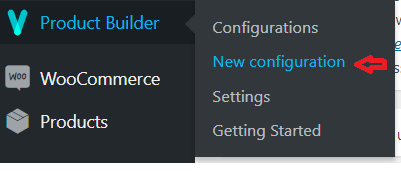
- To create a new configuration, click on Product Builder > New configuration.

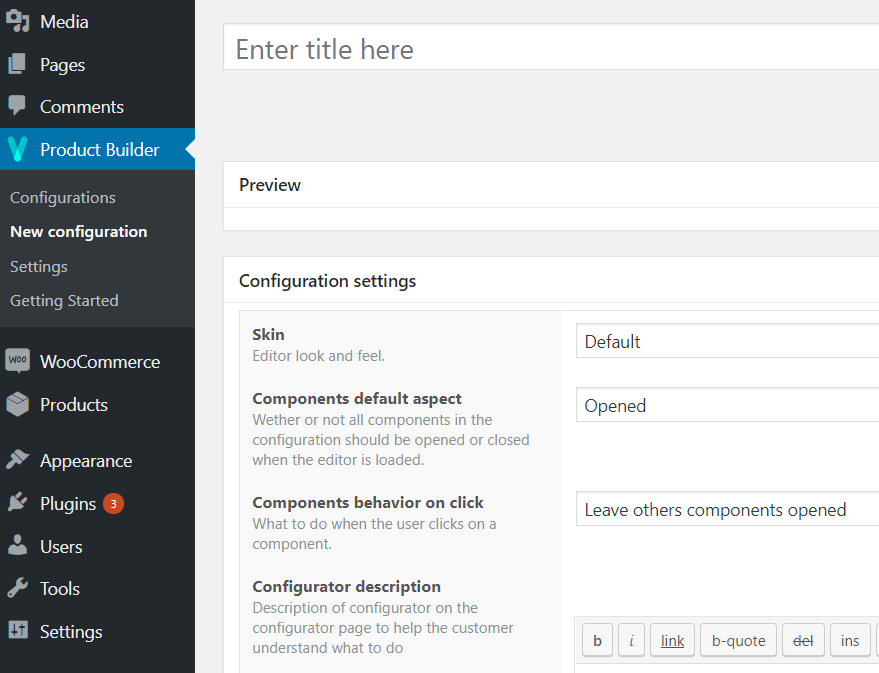
- Enter your configuration title. The Preview section fills up with the components that you select as “default” in the next section, automatically. We can move to the next section for now.

- In the configuration settings section, we have fields that help to define our configuration.
- Skin: we can change the editor’s look and feel using the “Skin” field.
There are default skins, called “Default” and “Right Sidebar skin”. More skins are available and will appear in this list when installed. You can also create your own skin as a
plugin (check the FAQ section below for instructions), and it will appear in the list when properly installed.
- Components default aspect: this field determines whether or not all the components in the configuration should be opened when the editor is loaded on the page or closed.
- Components behavior on click: this field determines whether other components are closed or opened when the user clicks one component.
- Configurator description: This is a text area that you can add description and instructions for your users, to give them instructions and how to navigate your configuration.
We need to create our components as listed earlier:
- Name: component name
- Icon: component icon, that will be displayed in the
editor, to represent this component. - Behavior:
- Single: only a single option can be selected for the
component. - Multiple: Multiple options can be selected for the
component. - Dropdown: The option is displayed as a dropdown field at
the front end, but only one can be selected at a time.
- Single: only a single option can be selected for the
- Click on the “Manage options” button to
manage your component options:
- Group: groups are the best way to group your component
options per category. Leave empty to ignore this setting. - Name: option name
- Description: option description. This is usually displayed when the user hovers the mouse above the option icon or name.
- Icon: option’s icon. Preferably the image dimensions and size should not be large, to reduce editor load time.
- Image: option image that will be displayed in the preview area when this option is selected.
- Price: option price which will be added to the product price if one is set and the option is selected. Leave this field empty to ignore this setting.
- Product/variation ID: WooCommerce shop product to link this option to. When the value is not “none”, the selected WooCommerce product price will be used instead of the one set in the option, when determining what price will be added to the configuration price. Please note that if this option is set and the configurable product is added to the cart, the related product will also be added to the cart.
- Default: allows you to set which option in the component will be selected by default, upon editor load. It is also the option displayed in the “Preview” section inside the configuration.
- Duplicate: this button allows you to duplicate the option that you have created and saved previously, in this configuration.
- Group: groups are the best way to group your component
- Once you’re done, click on the Publish button to save your configuration.
The next step is to create a new WooCommerce product (or edit an existing one), to assign our configuration to.


