Overview
A complex product with lot of options may be difficult configure if the customers don’t know how the end product will look like. The Woocommerce Visual Product Configurator gives you the ability ease your customer’s pain by configuring their perfect product visually.

Easily attract more customers and grow your business by using our Custom Product Designer for Woocommerce.
A. Requirements
WordPress (minimum version: 3.6)
Woocommerce (minimum version: 2.4)
B. Zip Folder Contents
The zip file downloaded from Code Canyon contains:
The user manual (User Manual.pdf). Alternatively, we have the instructions and the whole guide you need here (it is easier to update it for your use this way.)
The installable plugin zip file (woocommerce-visual-products-configurator.zip)


[IMAGE SHOWING MENU TO PLUGINS, THEN TO UPLOAD PLUGINS]
C. Installation process
- First, extract the archive in a folder of your choice and let’s start the installation.
- Go to your WordPress Admin Panel and click on
Plugins > Add New
to access the plugins installation screen. - Then click on the “
Upload Plugin
” link to access the plugin upload page. - Click on the Choose file button and select the plugin installable zip archive named woocommerce-visual-products-configurator.zip in the folder extracted in the first step.
- Click on the Install Now button to run the installation.
- Once the plugin is successfully installed, please click on the
Activate Plugin
link to activate the plugin.
Basic Setup
Before we start creating configurable products, we need to setup some basic settings first.
Let’s start by creating the page where the products will be configured and reference that page in the plugin settings.
This page is extremely important, because without it, the designer cannot be generated, even if you choose to use the short code display option.
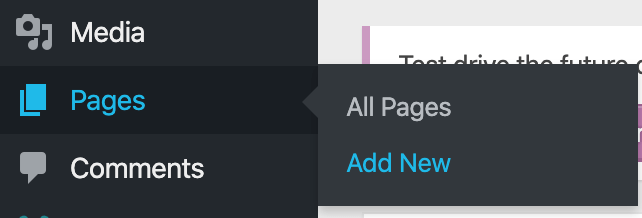
- Click on menu
Pages > Add New - Enter your page title and then click on publish.
- Then click on the menu
Product Builder > Settings
to access plugin settings. - Set the page you’ve created in the first step in the Configuration Page drop-down and save the changes.

[IMAGE OF NEW PAGE CREATION MENU]

[IMAGE OF DROPDOWN FIELD TO SELECT CREATED PAGE IN VPC SETTINGS]
Please ensure that the selected page is blank and has no content. To use a page that will have or already has content, please use the short code option – you can find the instructions below.


